by Mikie Mitsuhashi
Summer days in Japan are hot – really hot (and humid). Then there will be days that it will rain pretty much every single day of the week. But you know, ice cream is good for all sorts of weather. Especially for a sweet tooth like me, there is not a bad time for ice cream. Even better is the idea of being able to make it at home anytime with simple ingredients below.
Over lunch at the Obubu intern house, Moe-chan shared this memory of having been able to try some Genmaicha popsicles that the previous interns have made. It really sounded good and I wanted to try making something similar, so I decided to make its creamy ice cream version. **Disclaimer: I have never made ice cream before** BUT, as it is very easy to make, even someone with no experience like me can come up with something delicious! Nothing fancy, just a hand mixer should do the trick.
How to make Genmaicha Ice Cream
Crème glacée Genmaicha
| Temps de préparation | 30 minutes |
| Freezing Time | 6 hours |
| Portions | 6-8 |
Ingrédients
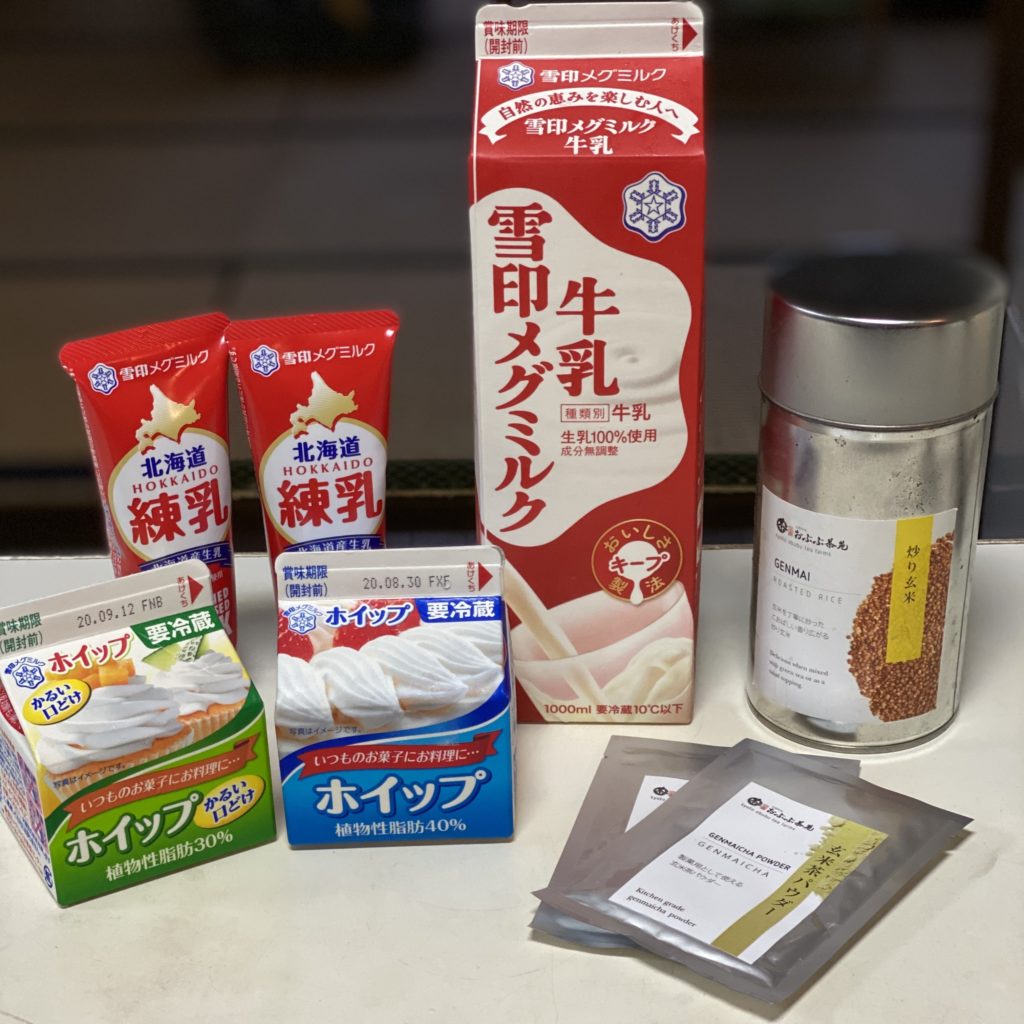
- 20g Genmaicha Powder
- 400ml Whipping Cream
- 100ml Whole Milk
- 240g Sweetened Condensed Milk
- Genmai (for topping)

Instructions
- Heat 100ml of whole milk on medium heat.
- Add the warm milk and mix well with 20g of genmaicha powder.
- Add 240g of condensed milk to the mixture.
- Mix well and make sure that there are no clumps in the mixture.
- On a separate bowl, add 400ml of whipping cream. Mix well until the cream gets thicker and you could form soft peaks.
- Add the genmaicha mixture to the whipping cream and mix well.
- Freeze for about 2-3 hours.
- Mix it again for a couple of minutes. The mixture should be thicker by now.
- Freeze again for another 2-3 hours.
- Mix it again (yes, again) for couple of minutes. You should end up with a very thick and creamy consistency at this point.
- Pop it in the freezer until it’s ready to serve! You may want to transfer it to a different container, or simply cover the surface.
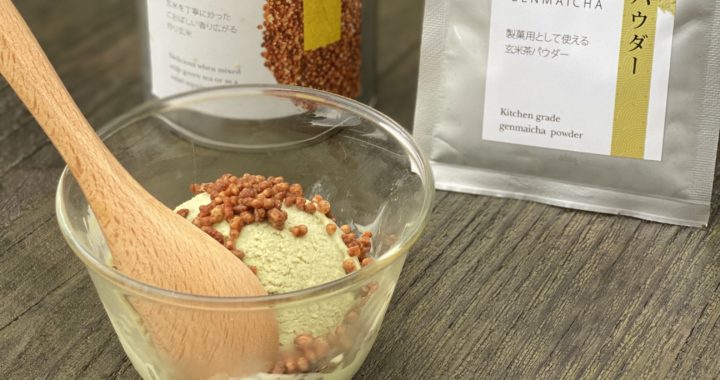
- Don’t forget to top your genmaicha ice cream with some genmai for that added texture!
There you have it! The instructions are basically mix-freeze-mix-freeze so you may need to have some patience, but it is all worth it! I hope you enjoy this recipe! Stay tuned for more of the interns’ kitchen adventures!
Articles connexes :

